


What Makes a File Print-Ready?
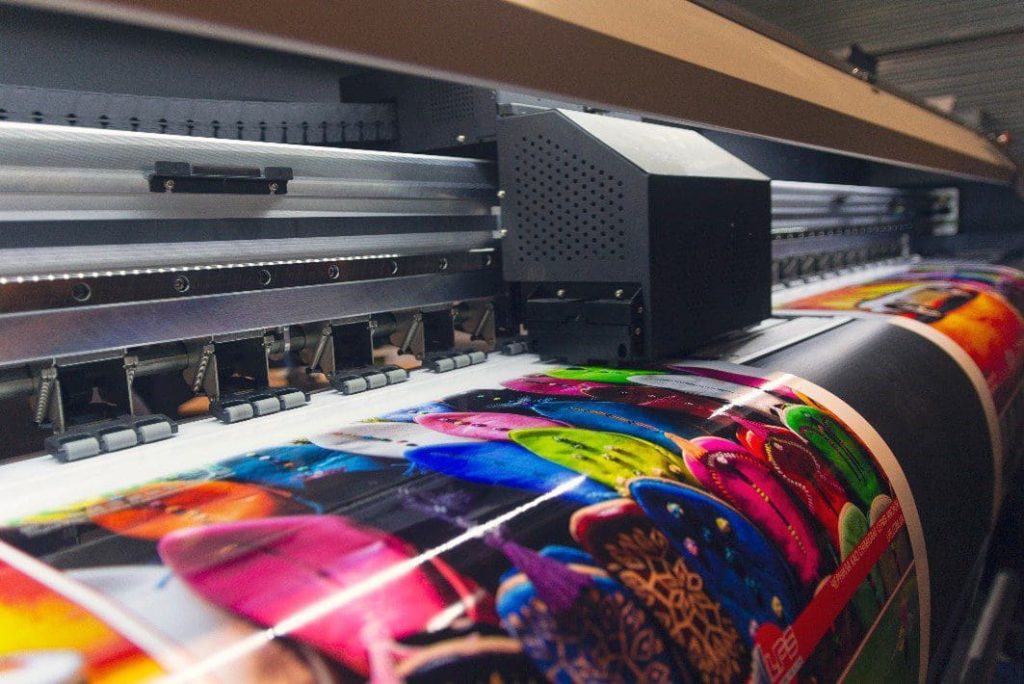
Let’s say you’re working on any sort of printed material for your company – signs, business cards, posters, etc. The design is completed, and you send to your contact at the local printer to get this project into production. You think everything is taken care of, and then you get a dreaded email – your contact is asking for a print-ready file.
“What does that mean?” you ask yourself, puzzled by the response.
In short, a print-ready file means that no adjustments are needed to get a high-quality print of your design. That include fonts, colors, resolution, and more. Keep reading to learn more about print-ready files, including the file type, image resolution, color and more.
File Type
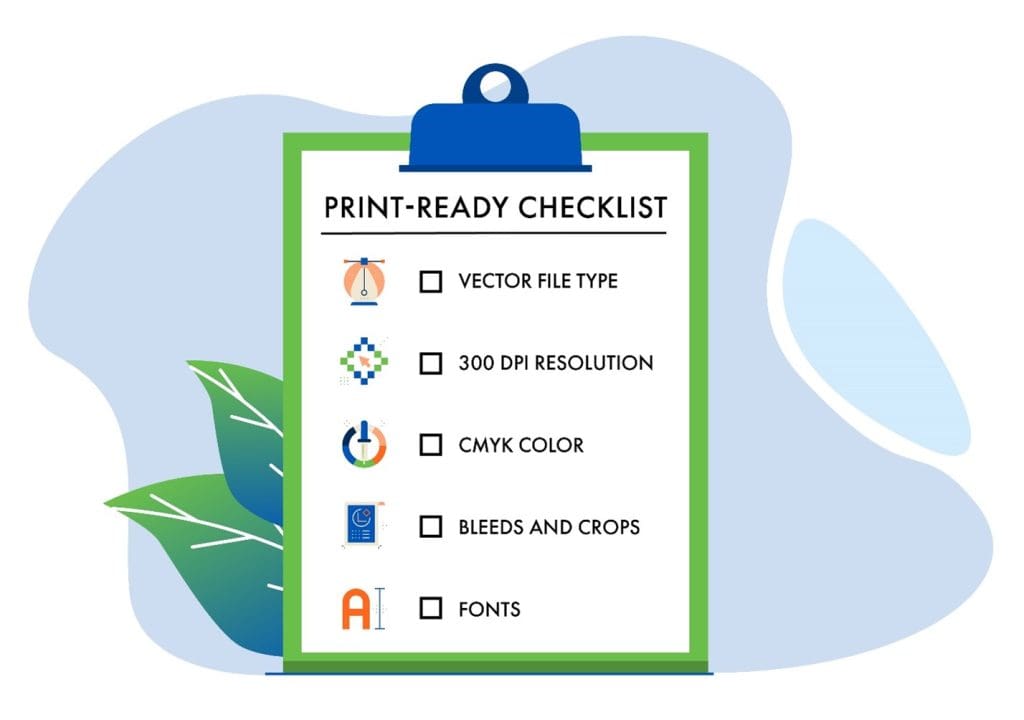
What file type do I need? PDFs are the most common print-ready file type. PDFs are a vector image, which will give you a crisp and clean design (learn more about vector vs. rasterized images at our blog). Other vector file formats include eps and ai files.
Image Resolution
Any images embedded in your design need to be at a resolution of 300 dpi. Anything smaller will create a blurry or pixelated image. The reason? Most industry-standard printers print at 300 dpi. If your file only has 72 dpi (like images taken from the web), the printer can’t add more quality to the image. Images should be saved as a raster format (jpg, png and gif).
Color
Printers use combinations of four ink colors to print the entire color wheel: cyan, magenta, yellow and black. Therefore, they need to read files set in CMYK color modes. When converting colors from RGB to CMYK, some color shifting might happen (often colors will become duller), so it is a good idea to design in CMYK from the beginning.
Some print shops use spot color, most often Pantones. Ask ahead to see if they need CMYK or Pantone colors. It is a good idea to use Pantone when available to ensure that the color matching is exactly the same.
Bleeds and Crops
A part of being “print-ready” means that no resizing is needed. Make sure your file is set to the correct finished size before sending off. If the design has elements that extend to the edge, then you need bleeds and crop marks. Bleeds are the area outside of the final size that have the color/images/design elements in it but will be cropped off. Printers can’t always print to the exact edge of the paper, so it is better to print past the edge than cut the extra off. That way, you will avoid a thin sliver of white along the edge. Industry standard size for bleeds is 1/8 (.125) inch on every side. The crop marks are necessary to tell the printer where to trim. When saving your print-ready file, check the boxes for document bleed setting and crop marks.
Fonts
It’s a good idea to outline any fonts in your design or embed them into the file. This step is not necessary for every job, but better safe than sorry. If you outline all the text, don’t forget to save an editable copy for yourself!
Will the printed product look exactly like my computer screen?
Close, but no. Screens are shown in RBG color format and at 72 dpi, and every computer screen is built slightly different. So when your design is printed in CMYK at 300 dpi, some color shifting will happen. Setting up your file correctly will ensure the finished product is as close to perfect as possible.
Here is a simple checklist for your next print project:
Think printed materials will help grow your company’s market? Impact can help! We have a team of print experts and designers ready to collaborate with you. Give us a call at 319-232-4332 or visit us at impactmt.com.
Sources:
https://www.prigraphics.com/blog/create-print-ready-files/
https://blog.lulu.com/how-to-make-a-print-ready-pdf/