Why You Should Shoot in Manual Mode
Categories
- Advertising(71)
- Copywriting(37)
- Design(44)
- Development(20)
- Get to Know Our Work(7)
- In Conversation(3)
- Photography(7)
- SEO(10)
- Social Media(37)
- Video(4)
Archives
- April 2025
- July 2024
- March 2024
- February 2024
- January 2024
- December 2023
- October 2023
- July 2023
- June 2023
- May 2023
- April 2023
- March 2023
- February 2023
- January 2023
- December 2022
- November 2022
- October 2022
- June 2022
- May 2022
- April 2022
- March 2022
- February 2022
- January 2022
- November 2021
- October 2021
- September 2021
- August 2021
- July 2021
- June 2021
- May 2021
- April 2021
- March 2021
- February 2021
- January 2021
- September 2020
- August 2020
- July 2020
- June 2020
- May 2020
- April 2020
- March 2020
- February 2020
- December 2019
- November 2019
- October 2019
- September 2019
- May 2019
- April 2019
- March 2019
- February 2019
- January 2019
- December 2018
- November 2018
Why You Should Shoot in Manual Mode
-
Posted by Ashley
- February 22, 2022
- in
- 2
- Comments Off on Why You Should Shoot in Manual Mode

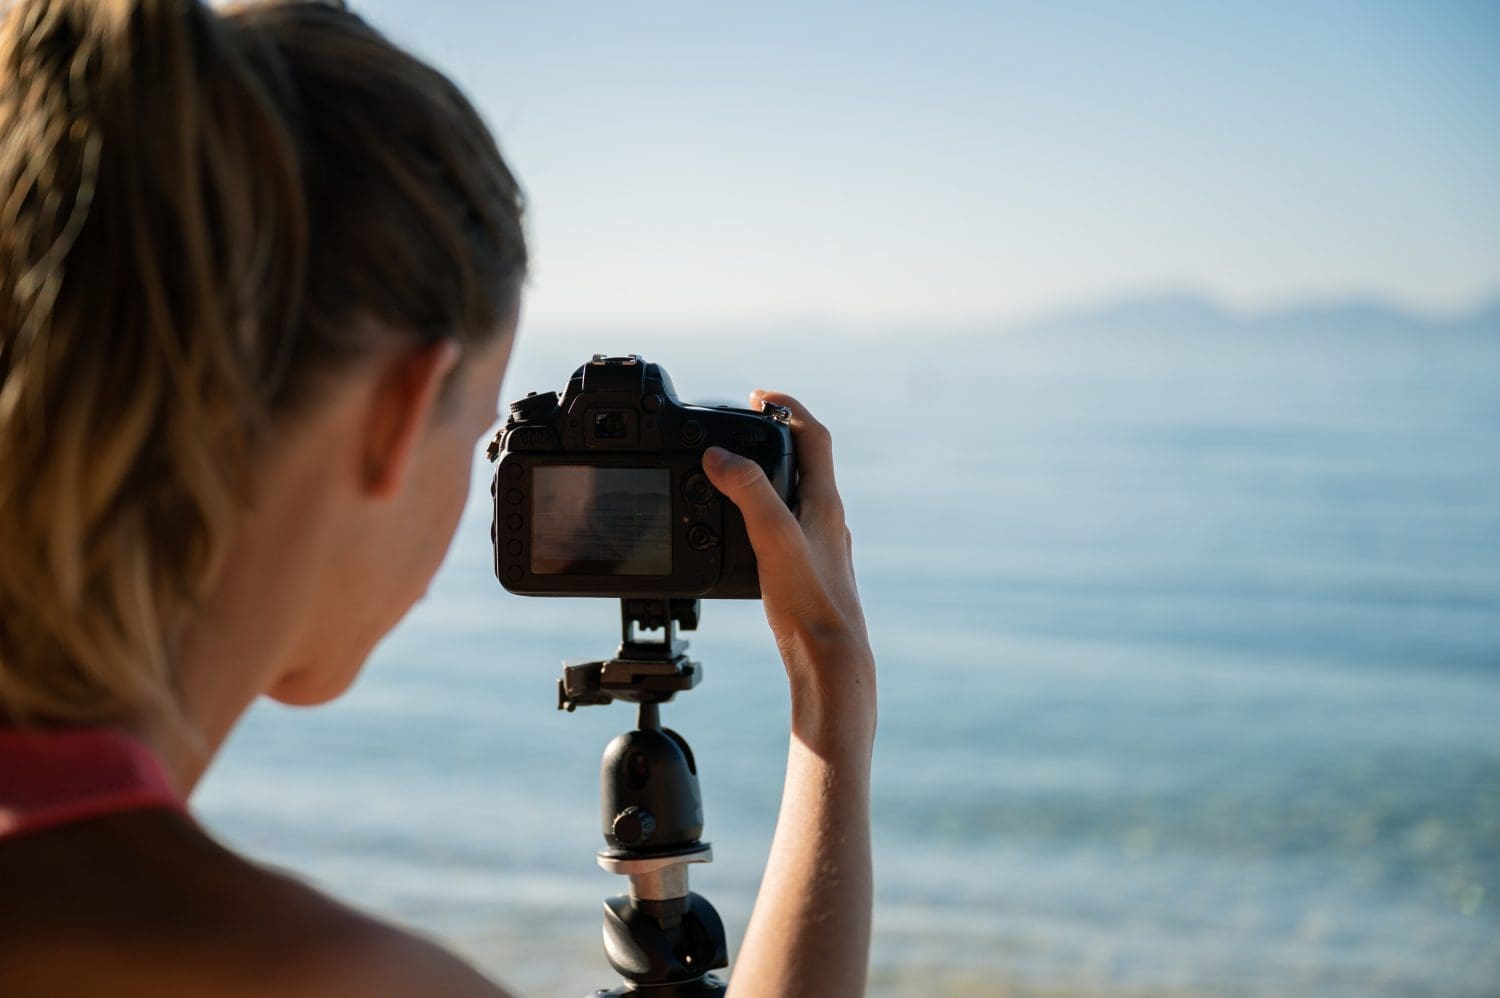
A photographer’s worst nightmare is coming home from a photoshoot to find the pictures overexposed. To avoid this, the best photographers shoot in manual mode. Before discussing manual mode on your DSLR Camera, let’s discuss exposure.
Exposure
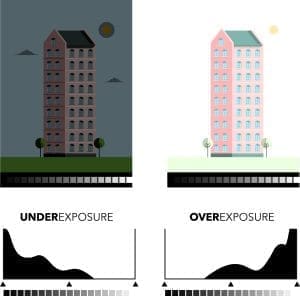
Ex posure is how much light your camera lets in when capturing a photo. There are two different outcomes to exposure, with one being significantly worse than the other. A picture is overexposed when it has too much light, and details within the photo can be lost. A picture is underexposed is when there isn’t enough light and details within the photo are hard to see.
The best picture is one that is slightly underexposed. Now, this doesn’t mean the picture should be blacked out, but it should be slightly darker than the scene’s original lighting to avoid overexposure. The loss of detail that occurs during overexposure cannot be recovered. Underexposed pictures don’t lose detail but create more noise, which can be easy to edit.
Manual Mode
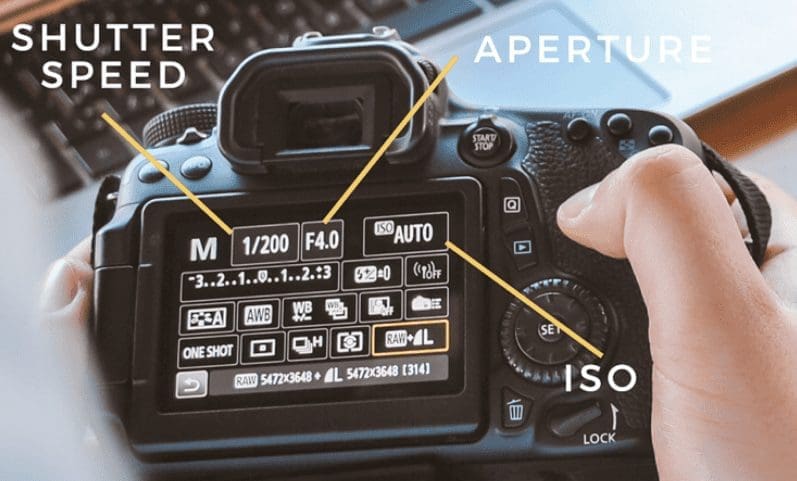
Now that we have covered exposure, we can discuss manual mode. Manual mode is a setting on a camera that can be found on the mode dial and is usually identified using a big “M.” Once you are in manual mode, you can change all your camera settings. Your most frequently changed settings are shutter speed, aperture and ISO.

Shutter Speed: How quickly the camera sensor is exposed to light from the scene. The shutter speed is either high or low depending on what kind of scene you are capturing. If you are photographing a sports event with high movement speed, you will want your shutter speed to be higher. This is to avoid any blurring within the picture.
The lower your shutter speed, the more light is let in, but the less focused your target may become depending on their movement speed and how steady your camera is. If you are shooting in low light with minimal movement, lower your shutter speed. If you are shooting in a well-lit environment with fast movement, increase your shutter speed.
Aperture: Aperture is how much light the lens is letting in. This determines how blurred the background of your subject will be. The lower your aperture, the more light is let in through the lens, and the blurrier the background of the subject will be. A lower aperture is great for low-light settings and portrait photography. A higher aperture is better for landscape and family photography so they can focus on a wider, well-lit area.
ISO: Your ISO is how you control the sharpness of your image. The lower the ISO, the sharper the image, but the less light is let in. The higher the ISO, the more noise will be applied to the image, but more artificial light will be let in. If you are shooting a picture that requires a higher shutter speed, but it’s in a lower light area (ex: theater), you can increase your ISO. Typically, a photographer tries to keep the ISO below 800, but sometimes a specific scene requires it to be higher.
The best way to learn manual mode is to practice. Go to a park while it’s sunny, take pictures, then go inside with low lighting and take a couple of pictures. Manual mode can improve your image quality across multiple mediums, including your website. At Impact Marketing, we’re experts at shooting various types of scenes in manual mode. Trust the experts and give us a call at 319-232-4332 or at impactmt.com.

